

Home Decorating Tips
How to Prepare A Room Before A Paint Job

Looking to give your space a new look? One way to dramatically change up a room’s overall look is by giving it a new paint job. But before you get started, you need to keep a few guidelines in mind.
Sometimes we get too caught up in the excitement of our DIY projects that we just go ahead and do it without any thought of the prep work involved. Before you start painting your walls, preparing your room is a very important step. It may seem a bit time-consuming, but the extra effort of preparing your room can really give your interiors a polished, professional look, and even save you money in the long run.
Here are several guidelines to follow before you start your home paint job:
-
Remove all furniture from the room.
When you’re painting the room, you wouldn’t want to keep tripping over coffee tables or reach over to paint the back of the sofa. Move your furniture out of the room to make painting easier, and also to keep your pieces safe from spattered paint. If an item is too heavy or too big to move out, pull it to the center of the room away from the walls, and cover with plastic.
-
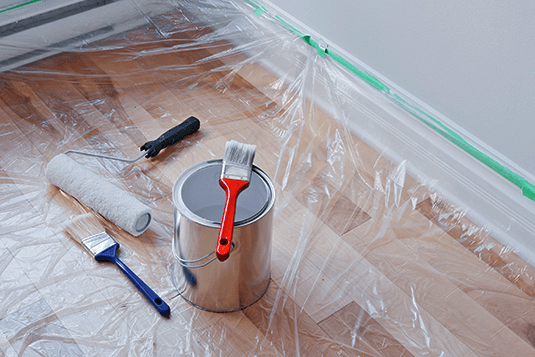
Protect your floor.
You will definitely want to keep your floor or carpet intact after your paint job, so it’s always recommended that you cover your flooring before you start painting. Invest in professional-style drop cloths that protect your floor from spilled paint. Plastic sheets are a cheaper alternative, but can shift under your feet and could expose parts of the floor.
-
Remove all wall hangings.
It’s tempting to just paint around the paintings mounted on your wall, but this is actually more time consuming and a lot riskier. Take them down, cover them in plastic, and take them out of the room. If you’re considering reconfiguring the arrangement of your wall hangings, remove nails or picture hangers, and fill the holes with spackle before you start painting.
-
Clean your walls.
What is the point of cleaning something you’ll just be painting on? This is actually an important step, because clean, even surfaces ensure a smooth, professional-looking result. Clean all the walls you’re planning to paint a mixture of water and mild detergent. Be sure to rinse the walls thoroughly when you’re finished and give them time to dry before you start working.
-
Tape off your baseboards and windowsills.
For this, it’s best to invest in professional painter’s tape instead of relying on regular household tape. Again, it’s a time-consuming step, but it helps you get a professional finish. Make sure that none of the tape is on the wall you’re about to paint, or bits of your old paint color will show.
-
Prime your walls.
This is a crucial step, as primers really help the paint adhere to the wall. Primers are specially formulated to adhere to different kinds of surfaces and receive the top coat of paint. Apply primer by painting in 3 foot by 3 foot sections; moving from top to bottom, and from one side of the wall to the other end.
Related Articles
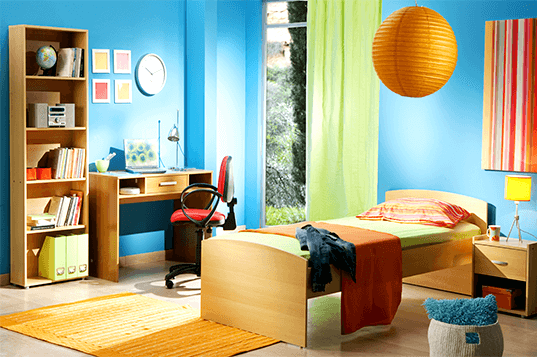
How to Decorate a Kid’s Room
A child’s room is a fun decorating project to tackle. But with all the design inspirations floating around, it can get pretty ...
READ MORE

Well-loved Pinoy Christmas Home Decors
While it’s true that Christmas has one generic red, white and green look across the world, regions and countries do weave in ...
READ MORE
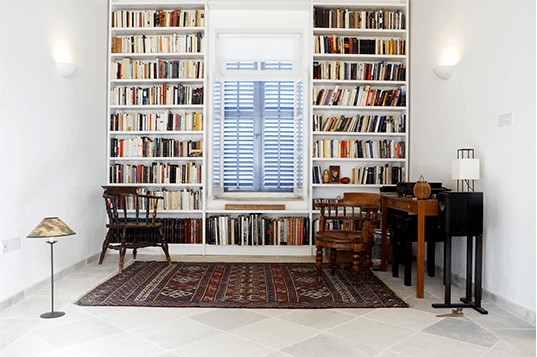
Setting Up Your Home Library
If your family loves to read or keeps a lot of books, it’s a great idea to keep an organized home library. ...
READ MORE
Our Products
Our line of high quality paints and products will give your home or project the vibrancy it needs.
Explore Colors
Ready to explore colorful possibiliies today? View our popular paint colo combination palettes for great color schemes and room design ideas for interior and exteriors.