

Home Decorating Tips
4 Ways to Achieve the Marble Effect With Paint

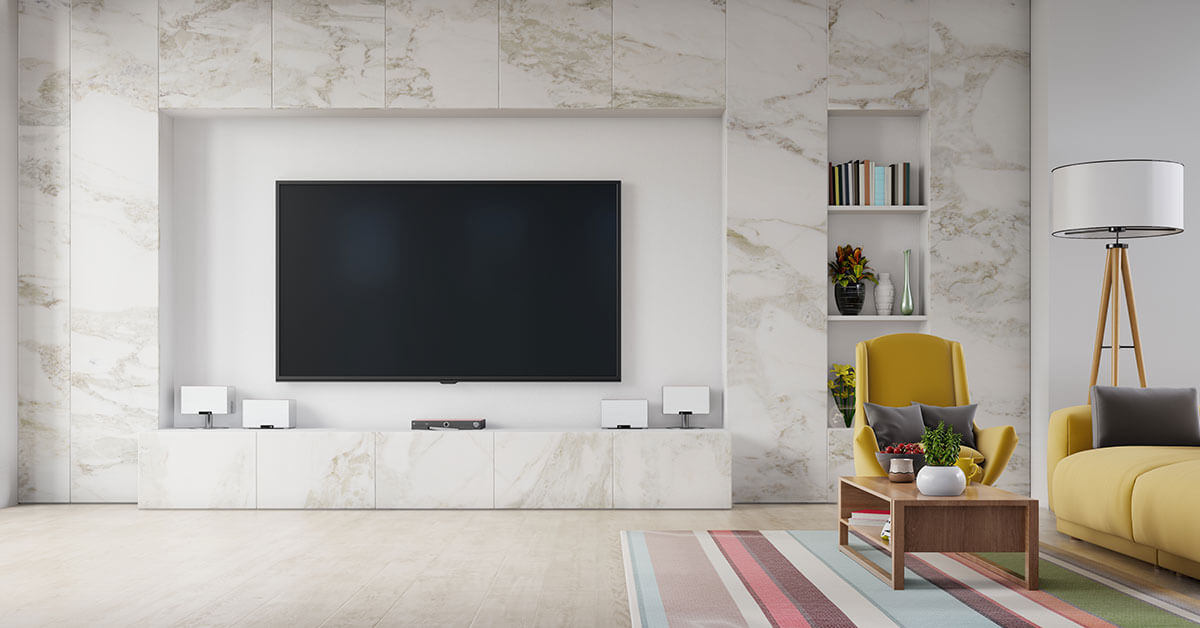
When adding class and luxury to a home, marble is one of the go-to materials, as it exudes a regal feel. Any surface made from marble, whether it be walls, counters, or floors, will garner a lot of positive reactions.
However, factors such as the product’s origin, design or color, variety, and thickness can increase the price of marble and make it expensive. As such, homeowners building on a budget can argue that expenses used to buy marble can be used for something else that’s more important.
But did you know that it’s possible to recreate the marble effect on walls using paint? If it’s been your dream to have a home with walls or surfaces with a marble effect, here’s your chance! Learn about marble painting techniques you can try doing for your home and get the luxurious look for a fraction of the price.
What Are the Styles for Marble Painting on Walls?
Since real marble comes in many colors ranging from light to dark shades, there are a couple of “styles” you can try to replicate on your walls. Here are four common ways to get the marble “look” using paint:
- Basic marble: This involves a latex white wall that’s been primed and painted accordingly, and finished with grey and black veins and grey latex glaze.
- Layers of color: Marble can come in other colors like pink and brown. This process entails choosing multiple paint colors similar to the marble you want to replicate, and painting over the wall.
- Faux of fantasy: Compared to the other techniques, resins, tints, and additives are added to your initial marble color scheme.
- Reverse marble: Unlike basic marble that uses a white base, reverse marble involves using a dark color first. Afterward, you can paint on veins in bright hues of white.
Marble Painting on Walls and Surfaces: How to Go About It
If you’re taking the DIY route when painting your walls, here’s a list of the materials you’ll need:
- Drop cloth, newspaper, and/or painter’s tape
- Dust cloth
- Paint primer if needed
- White paint
- Two to six different paint colors that are at least three to five shades apart
- Paint stirrers
- Wool pad
- Tape or lint roller
- Paint tray
- 2 large paintbrushes (one of them should be soft)
- Feather
Once you have your items ready, make sure to thoroughly clean and prepare your walls or surfaces before painting. This will help you achieve a paint job without the mess:
- Ensure that your walls are clean. Use a dust cloth or feather duster to wipe the surface. Check for dust and other dirt that’s on it and clean thoroughly.
- Cover your work area by placing down newspapers or cloth onto surfaces you don’t want to be affected by paint. Ensure that the paper or cloth is ground up against the surface being worked on. Don’t forget to cover other areas, like the trim, with painter’s tape to avoid unnecessary paint splatters.
- Apply a primer that’s ideal for your wall’s surface. Pour some product onto a paint tray, brush over your wall, and let it dry. If the original surface still peeks through despite the first primer coat, you can apply another coat.
- Prepare the paint colors you’ll use. Use a paint stirrer to mix too-thick products.
- Take your wool pad and run it through a piece of tape or a lint roller to “de-fuzz” it. Afterward, wet the wool pad in a large container of water, pat it dry, and use your fingers to fluff it.
Are your walls ready? Time to give it a marble look with this painting technique:
- Pour the first color that’ll serve as your “base” onto a paint tray. Then, take a large paintbrush and apply the paint onto the surface in rough, diagonal lines.
- Repeat step number 1 with other colors. Make sure that the lines for the succeeding colors are painted alternately onto the surface.
- Take the wool pad and add a small amount of each paint color onto it. Dab it onto the wall in the same diagonal motion or direction. Blend the colors as you do this step.
- Let the initial surface dry overnight.
- Once the area is dry, mix 1 part of white paint and 3 parts of water in a container or paint tray.
- Take a feather and dip it into the white paint and water mixture. Shake off excess product.
- Move the painted feather diagonally, in the same direction as your paint job the day prior. You can also turn, wiggle, or shake the feather to make the marbling effect look more natural.
- Use a soft, dry, and clean paintbrush to lightly pat over the white lines you made earlier. Let the surface dry.
- Once done, remove the newspapers, drop cloth, and/or painter’s tape.
Other Tips to Improve Your Paint Job
Don’t forget these other reminders too so you can give your walls a marble makeover:
- Wear protective equipment like goggles, gloves, and/or hats since the paints or primers can be irritating to your skin and eyes.
- Open doors and windows of the work area and make sure it’s well-ventilated. This will allow fumes emitted by the paints or primers to go out of your area, and prevent health issues like dizziness, headaches, and/or nausea.
- Be careful when using ladders. Make sure that it is stable at all times to prevent accidents. If you’re working with someone, you can ask him or her to help keep the ladder in place too.
- Clean up your work area at the end of the day and store materials properly. For potentially flammable paints, make sure they’re kept in a cool and dry place away from heat sources or open flames. If you have rags, store them outside or replace them since they can be a fire hazard if exposed to too much paint thinner.
- Test out your desired color scheme and practice your painting technique before the actual paint job. If you have a color palette in mind, try painting it on a piece of cardboard or other material to see how it’ll look. Doing so can also help you go over your marble painting “technique,” look for points of improvement, and boost your confidence when it comes to painting.
While it’s undeniable that there are quite a few steps involved in giving your walls a marble effect, with the right materials and skills, you can level up your humble abode in no time.
Ready to go for this task? With Island Premium Paints, you can! Feel free to choose from a variety of paints that have a Product Satisfaction Guarantee, so you can get your desired colors and finish for your marble walls. For more home decoration and inspiration tips that can make your home feel grander, head to the Island Premium Paints website today!
Sources:
https://www.intermountainstone.com/blog/what-factors-affect-the-cost-of-marble-countertops/
https://homeguides.sfgate.com/paint-marble-effect-faux-finish-103880.html
https://homeguides.sfgate.com/marble-look-painting-wall-45327.html
https://www.bhg.com/home-improvement/walls/diy-marble-wall-treatment/ https://www.majorpaintingco.com/projects-and-tips/5-safety-tips-for-indoor-painting
Related Articles

Decorating Your Living Room with House Plants
2016’s design theme of industrial chic left many craving for a little fun and warmth under the sun. So in 2017, it’s ...
READ MORE
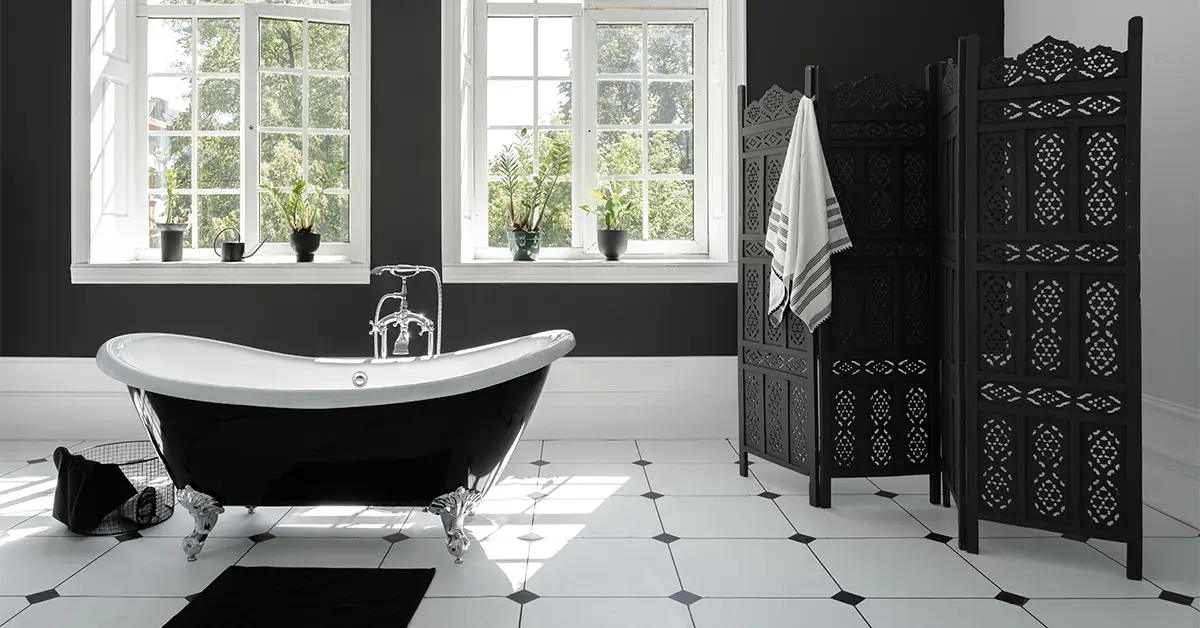
Bathroom Remodelling: Where Should You Begin?
Want to give your bathroom a makeover but don't know where to start? Check out this guide on bathroom remodeling, plus design ...
READ MORE

What to Look for in Painting Apps
When you try to search for painting apps in an app store, you’ll be greeted with a long list to choose from. ...
READ MORE
Our Products
Our line of high quality paints and products will give your home or project the vibrancy it needs.
Explore Colors
Ready to explore colorful possibiliies today? View our popular paint colo combination palettes for great color schemes and room design ideas for interior and exteriors.